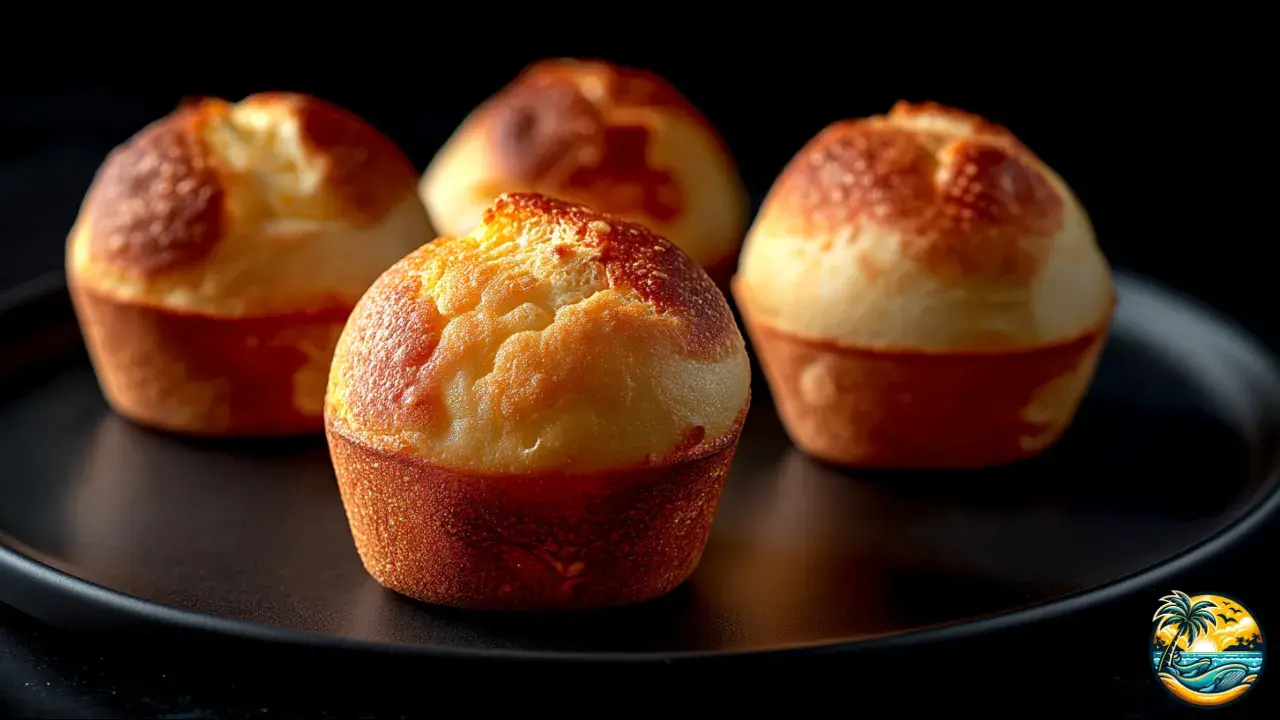
Brazilian Cheese Bread. Pão de Queijo
Savor the World.
Brazilian Cheese Bread. Pão de Queijo
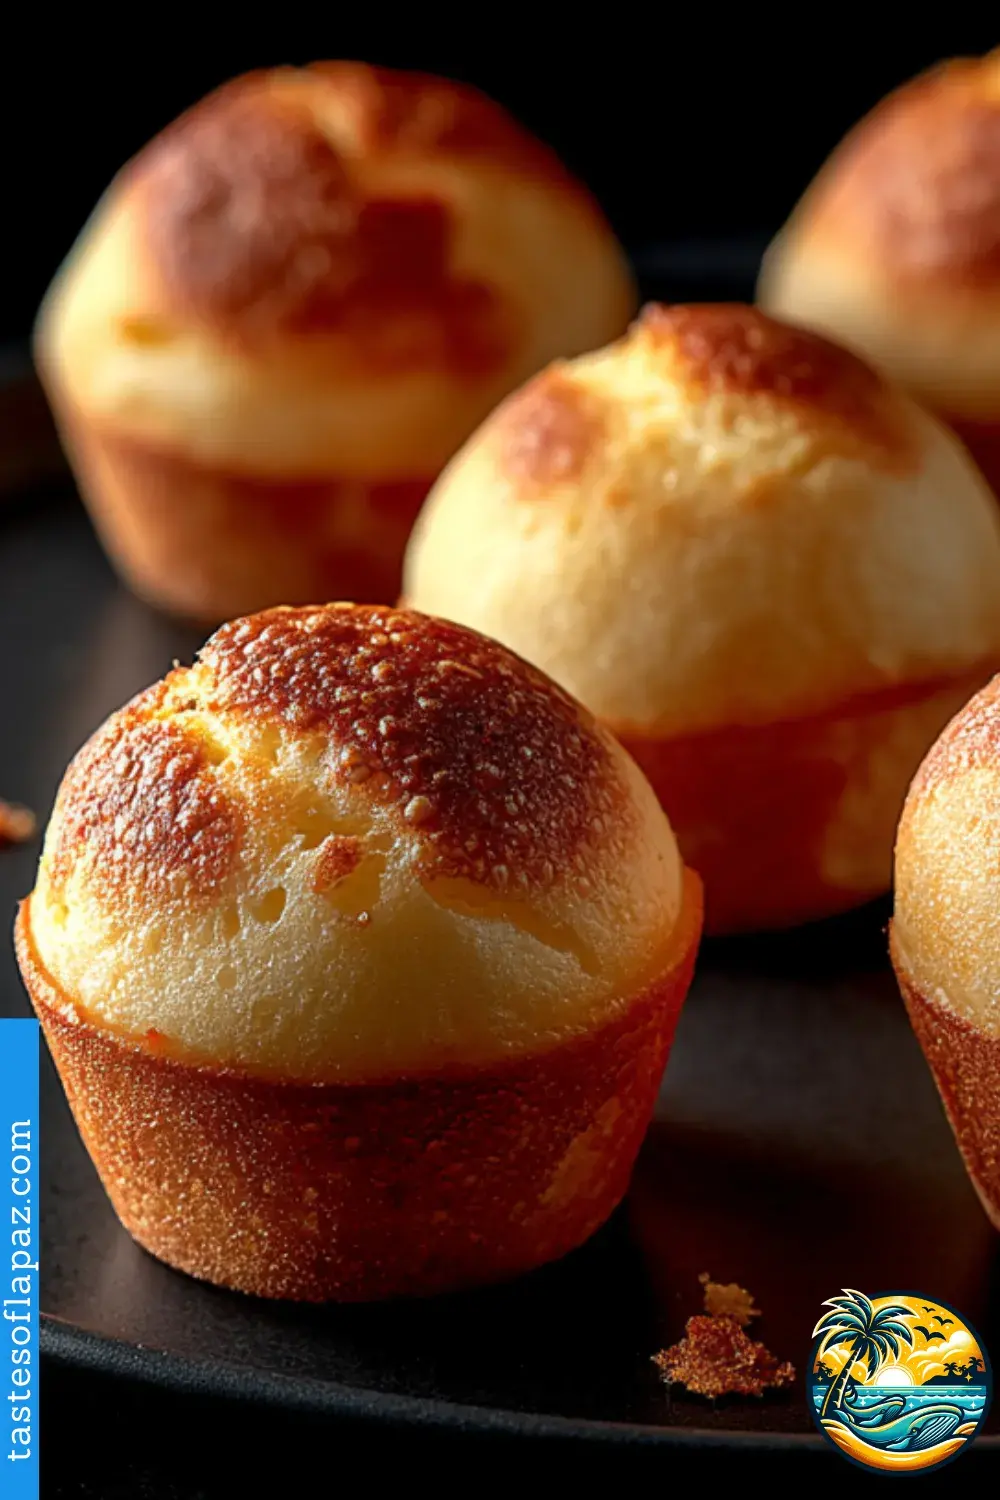
The first time I tried these little breads, I couldn’t believe how delicious they were! Not only are they cute, but they’re also incredibly tasty. And on top of that, they have a unique texture that makes them truly one of a kind. Join me in making these amazing Brazilian cheese breads and surprise everyone at home with this irresistible South American flavor.
Brazilian Cheese Bread. Pão de Queijo
Servings:24 small cheese breads
Prep Time: 10 minutes
Cook Time: 20 minutes
Total Time: 30 minutes
Ingredients
- 1 cup (240 ml) whole milk
- 1/2 cup (120 ml) vegetable oil (canola or corn work great)
- 1 teaspoon salt
- 2 cups (260 g) tapioca starch (also labeled tapioca flour)
- 1 1/2 cups (150 g) shredded cheese (a mix of parmesan and mozzarella is ideal)
- 2 large eggs
What You’ll Need
- Mini muffin pan (24-cup preferred)
- Blender or electric mixer
- Silicone spatula
- Oven preheated to 375°F (190°C)
See 5 variations of the recipe at the end.
You might also be interested in:
Did You Know?
Even though they puff up beautifully in the oven, pão de queijo has no yeast or baking powder! That signature rise comes from steam created inside the tapioca starch as it bakes. It's kitchen science at its best—no tricks, just delicious magic.
Instructions
- Here we go! Start by preheating your oven to 375°F (190°C). That way, the batter will begin puffing up as soon as it hits the heat. While the oven is warming up, lightly grease a mini muffin pan using oil, butter, or nonstick spray—whatever you like best. I usually go with butter. If you have silicone molds, even better—they help the breads pop out easily without sticking.
- Now grab your blender or a strong electric mixer and add the milk, oil, salt, eggs, and tapioca starch. Here’s a tip: always pour in the liquids first—it helps the batter mix more smoothly and avoids lumps. Blend for about 30 seconds, or until the mixture looks creamy and uniform. For reference, it should have a similar texture to pancake batter, just a little thinner.
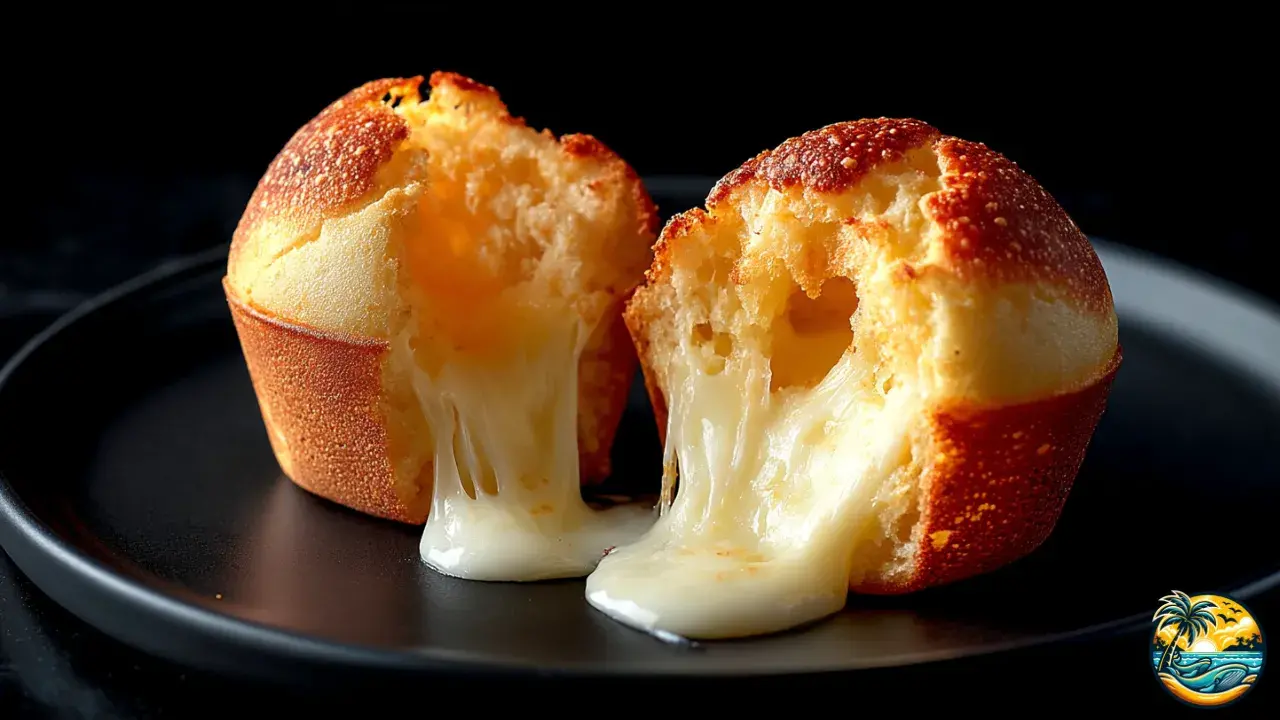
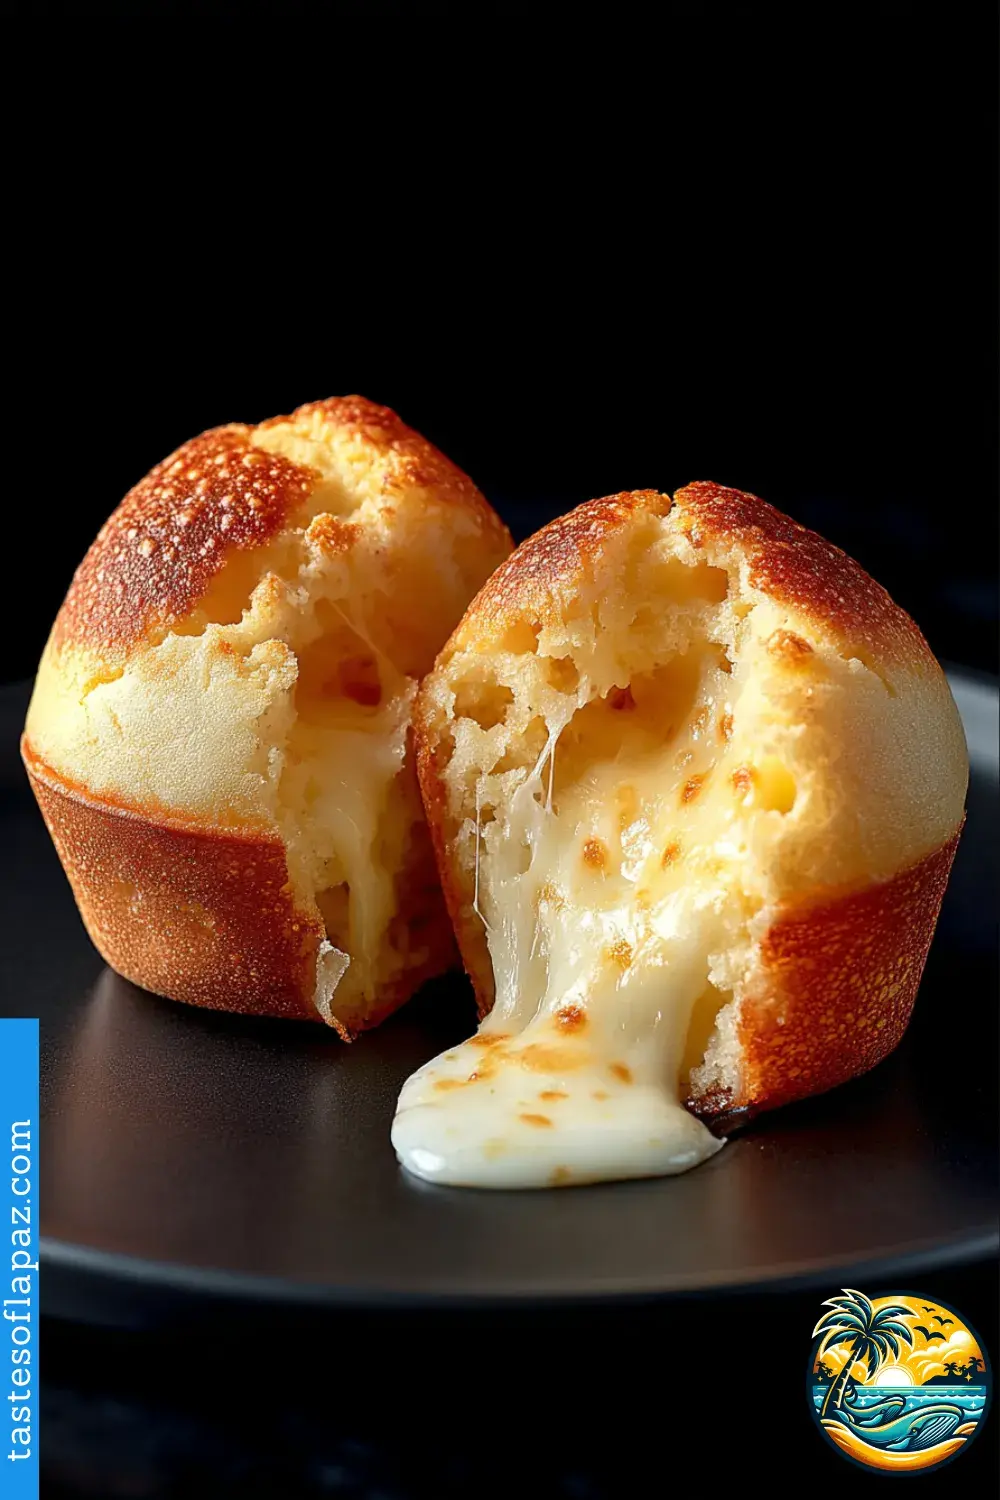
- Next, add in the shredded cheese and gently mix it in by hand using a spatula—soft and with love—until it’s evenly distributed. You don’t need to fully blend or shred the cheese into the batter; In fact, leaving small chunks of cheese in the batter not only enhances the texture, but also allows some pieces to melt inside, creating irresistible gooey pockets in every bite. Just don’t over-blend at this point—too much mixing can mess with that perfect stretchy bite you’re aiming for.
- Using a spoon or a small measuring cup with a spout—whatever you’ve got handy—pour the batter into each muffin cup, filling it about 3/4 of the way. Don’t overfill, or they might overflow instead of puffing up nicely. The batter is pretty liquidy, so once your tray is filled, avoid moving it around too much.
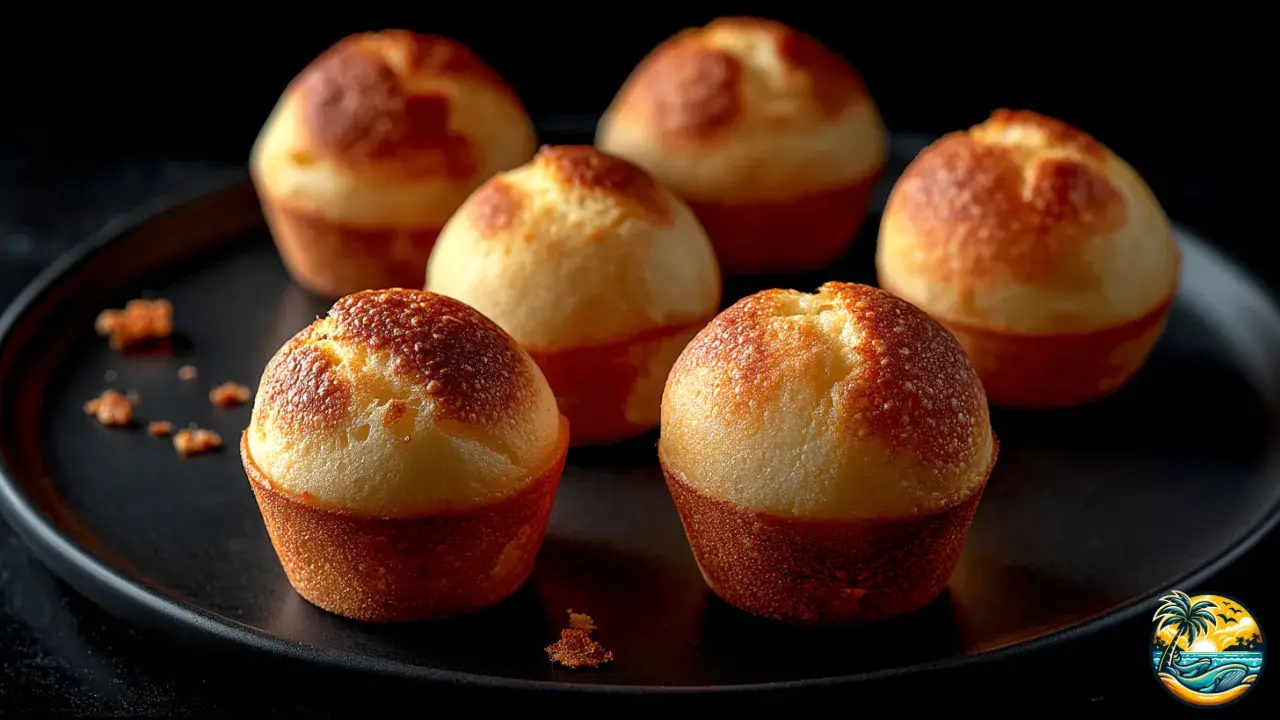
- Time to bake! Place the tray in the oven and bake for 18 to 20 minutes. Whatever you do, don’t open the oven door while they’re baking—it can cause them to deflate. You’ll know they’re ready when they’ve puffed up and turned a light golden color on top. And oh man, the smell of toasty cheese at this stage? Irresistible.
- Done! We did it! Carefully take the tray out of the oven and let the cheese breads rest in the pan for about 5 minutes. This helps them firm up a bit so they’re easier to remove without tearing. Then pop them out gently and serve them warm. That’s when the magic happens: a crispy outside, soft and stretchy inside... absolute perfection.
Ingredient Substitutions
- Milk: If needed, you can substitute whole milk with unsweetened plant-based milk like oat or almond. Just keep in mind the texture may change a bit.
- Oil: If you're out of vegetable oil, feel free to use light olive oil or even a bit of melted butter.
- Tapioca starch: If you can't find tapioca starch, you can try using cassava flour—just know the final result will be a little denser.
- Cheese: Instead of parmesan or mozzarella, go with mild cheddar, Monterey Jack, or a bagged shredded cheese blend—they’ll still turn out delicious.
Prep Tips
- Don’t overfill: Seriously—don’t fill the muffin cups all the way! These little breads puff up while baking and can overflow or stick together, losing that cute round shape.
- Blender or hand mix: Using a blender makes life easier, but if you don’t have one, mixing by hand works too—just a little more effort.
- Perfect texture: If the batter feels too thick, just stir in an extra tablespoon of milk until you get that pourable, smooth consistency we’re after.
- Use fresh cheese: Always go with freshly grated cheese if you can. It melts better and gives way more flavor than pre-shredded packs.
- Don’t open the oven: It’s super important to keep the oven door shut while they bake—if you open it too early, they’ll deflate.
Nutritional Information (per cheese bread)
- Calories: 90 kcal
- Protein: 2.5 g
- Healthy fats: 5.5 g
- Carbohydrates: 8 g
- Natural sugars: 0 g
- Fiber: 0.1 g
- Sodium: 120 mg

Storing & Reheating
- Room temp: Store your cheese breads in an airtight container at room temperature for up to 2 days without any issue.
- Refrigeration: Got leftovers? You can refrigerate them for up to 5 days and they’ll still taste great.
- Freezing: You can also freeze them after baking. Just make sure they cool completely before placing them in freezer bags or containers.
- Oven reheat: When it’s time to enjoy them again, bake at 350°F (175°C) for 5–7 minutes until warm and slightly crisp.
- Air fryer reheat: Pop them in the air fryer for about 3 minutes—they’ll come out crispy on the outside and soft on the inside. Just the way they should be.
Story or Inspiration
Pão de queijo was born in the mountains of Minas Gerais, Brazil, back in the 1700s. Back then, wheat flour was hard to find, so local cooks started using cassava starch and fresh cheese. Over time, this humble snack became a national icon—especially loved at breakfast and afternoon coffee. Today, its popularity has crossed borders, and people all over the world have fallen for its simple, cheesy, comforting charm.

Frequently Asked Questions (FAQ)
- Can I make them without a blender? Absolutely! You can mix everything by hand with a whisk and spatula. It’ll take a bit more elbow grease, but it works—just make sure there are no lumps.
- Do I need to use mini muffin pans? Not at all. You can use regular muffin tins too, just adjust the baking time to about 25 minutes.
- Can I freeze them before baking? Totally. Fill the muffin cups and freeze them raw. When ready to bake, pop them in the oven straight from the freezer—just add 3–5 minutes of bake time.
- What’s the best cheese to use? A combo of parmesan (for flavor) and mozzarella (for stretchiness) works great. But like always—feel free to experiment in your kitchen!
- Are they gluten-free? Yes! In fact, they’re naturally gluten-free thanks to the tapioca. They’re perfect for anyone with gluten intolerance.

Serving Suggestions
- Serve them with scrambled eggs and avocado for a hearty breakfast.
- Pair them with a garlic-lemon yogurt dip—so good as a snack!
- They go perfectly alongside tomato or butternut squash soup.
- Enjoy them with a café con leche or a berry smoothie—you’ll love it!
- Finish the meal with a creamy vanilla custard or homemade flan.
Recipe Variations
- Herb lovers: Add dried oregano, thyme, or rosemary to the batter for a fragrant, herby twist—so good!
- Spicy version: Into heat? Mix in some chopped jalapeños or red pepper flakes. Hot and awesome!
- Sweet twist: Add a teaspoon of honey and a pinch of cinnamon for a fun, unexpected breakfast version.
- Bold cheese: I love this one—use aged white cheddar or smoked gouda for a deeper, gourmet flavor and golden color.
- With bacon: Yep, bacon had to be here! Toss in a few crispy bacon bits for a flavor bomb. Perfect for brunch.
And that’s it! Easy, right? You’ll see that these Brazilian cheese breads are a total sensation—exotic, packed with flavor, and with a texture that’s truly one of a kind. Best of all, everyone will love them, whether it's your friends or your family. Hope you enjoy them as much as I do. Happy cooking!

Tastes of La Paz.
Brazilian Cheese Bread. Pão de Queijo
Servings:24 small cheese breads
Prep Time: 10 minutes
Cook Time: 20 minutes
Total Time: 30 minutes
Ingredients
- 1 cup (240 ml) whole milk
- 1/2 cup (120 ml) vegetable oil (canola or corn work great)
- 1 teaspoon salt
- 2 cups (260 g) tapioca starch (also labeled tapioca flour)
- 1 1/2 cups (150 g) shredded cheese (a mix of parmesan and mozzarella is ideal)
- 2 large eggs
What You’ll Need
- Mini muffin pan (24-cup preferred)
- Blender or electric mixer
- Silicone spatula
- Oven preheated to 375°F (190°C)
Instructions
- Here we go! Start by preheating your oven to 375°F (190°C). That way, the batter will begin puffing up as soon as it hits the heat. While the oven is warming up, lightly grease a mini muffin pan using oil, butter, or nonstick spray—whatever you like best. I usually go with butter. If you have silicone molds, even better—they help the breads pop out easily without sticking.
- Now grab your blender or a strong electric mixer and add the milk, oil, salt, eggs, and tapioca starch. Here’s a tip: always pour in the liquids first—it helps the batter mix more smoothly and avoids lumps. Blend for about 30 seconds, or until the mixture looks creamy and uniform. For reference, it should have a similar texture to pancake batter, just a little thinner.
- Next, add in the shredded cheese and gently mix it in by hand using a spatula—soft and with love—until it’s evenly distributed. You don’t need to fully blend or shred the cheese into the batter; in fact, leaving little bits helps create a better texture in the final result. Just don’t over-blend at this point—too much mixing can mess with that perfect stretchy bite you’re aiming for.
- Using a spoon or a small measuring cup with a spout—whatever you’ve got handy—pour the batter into each muffin cup, filling it about 3/4 of the way. Don’t overfill, or they might overflow instead of puffing up nicely. The batter is pretty liquidy, so once your tray is filled, avoid moving it around too much.
- Time to bake! Place the tray in the oven and bake for 18 to 20 minutes. Whatever you do, don’t open the oven door while they’re baking—it can cause them to deflate. You’ll know they’re ready when they’ve puffed up and turned a light golden color on top. And oh man, the smell of toasty cheese at this stage? Irresistible.
- Done! We did it! Carefully take the tray out of the oven and let the cheese breads rest in the pan for about 5 minutes. This helps them firm up a bit so they’re easier to remove without tearing. Then pop them out gently and serve them warm. That’s when the magic happens: a crispy outside, soft and stretchy inside... absolute perfection.
Nutritional Information (per cheese bread)
- Calories: 90 kcal
- Protein: 2.5 g
- Healthy fats: 5.5 g
- Carbohydrates: 8 g
- Natural sugars: 0 g
- Fiber: 0.1 g
- Sodium: 120 mg

Tastes of La Paz.