Spooky Mini Pumpkin Pies
Savor the World.
Spooky Mini Pumpkin Pies
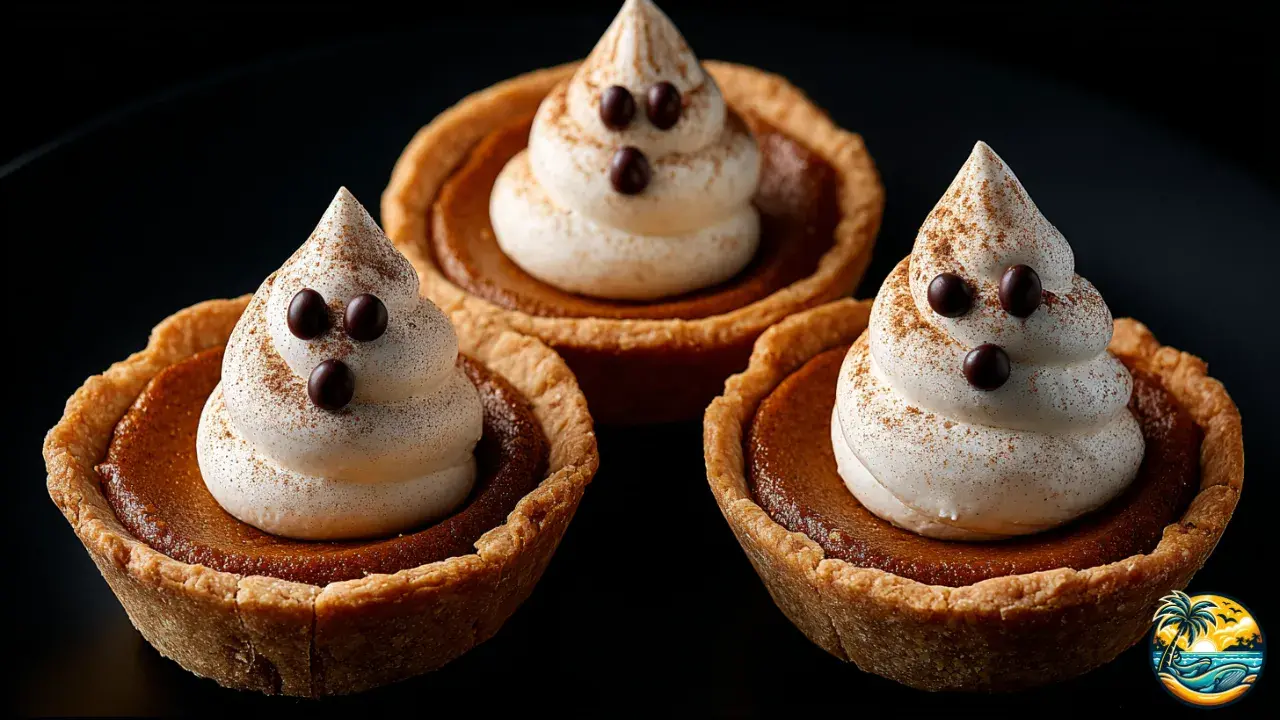
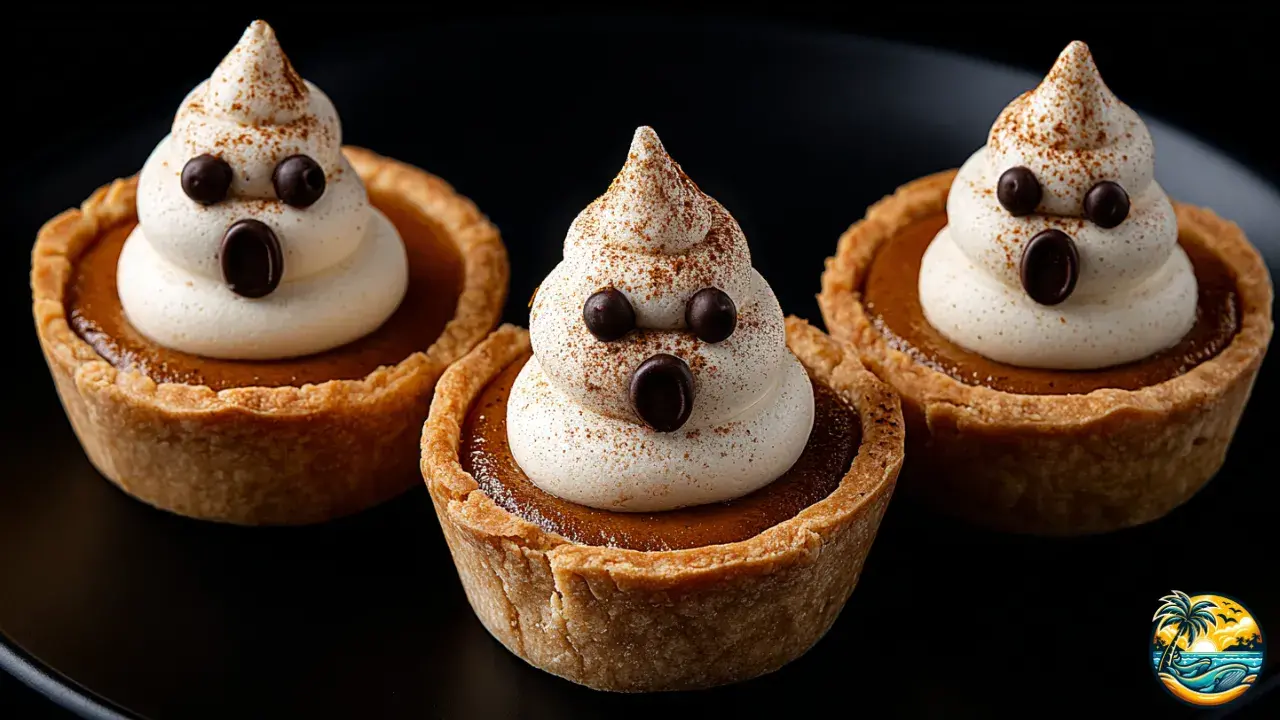
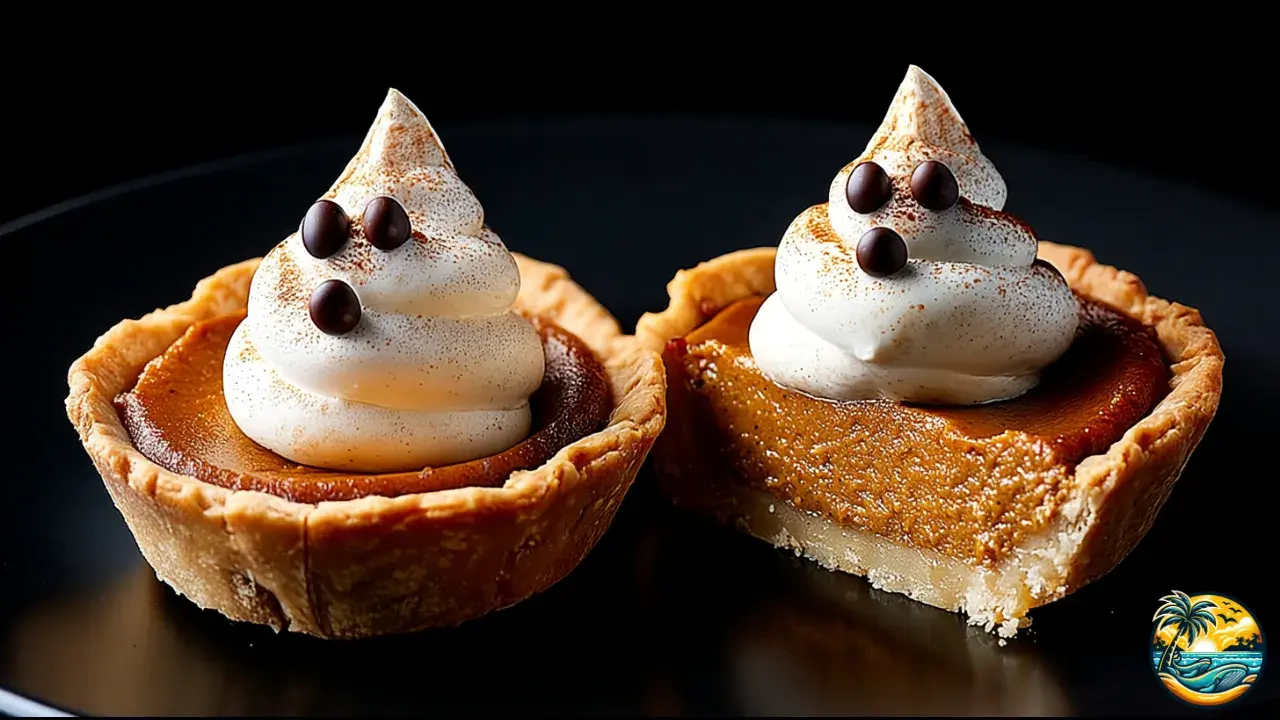
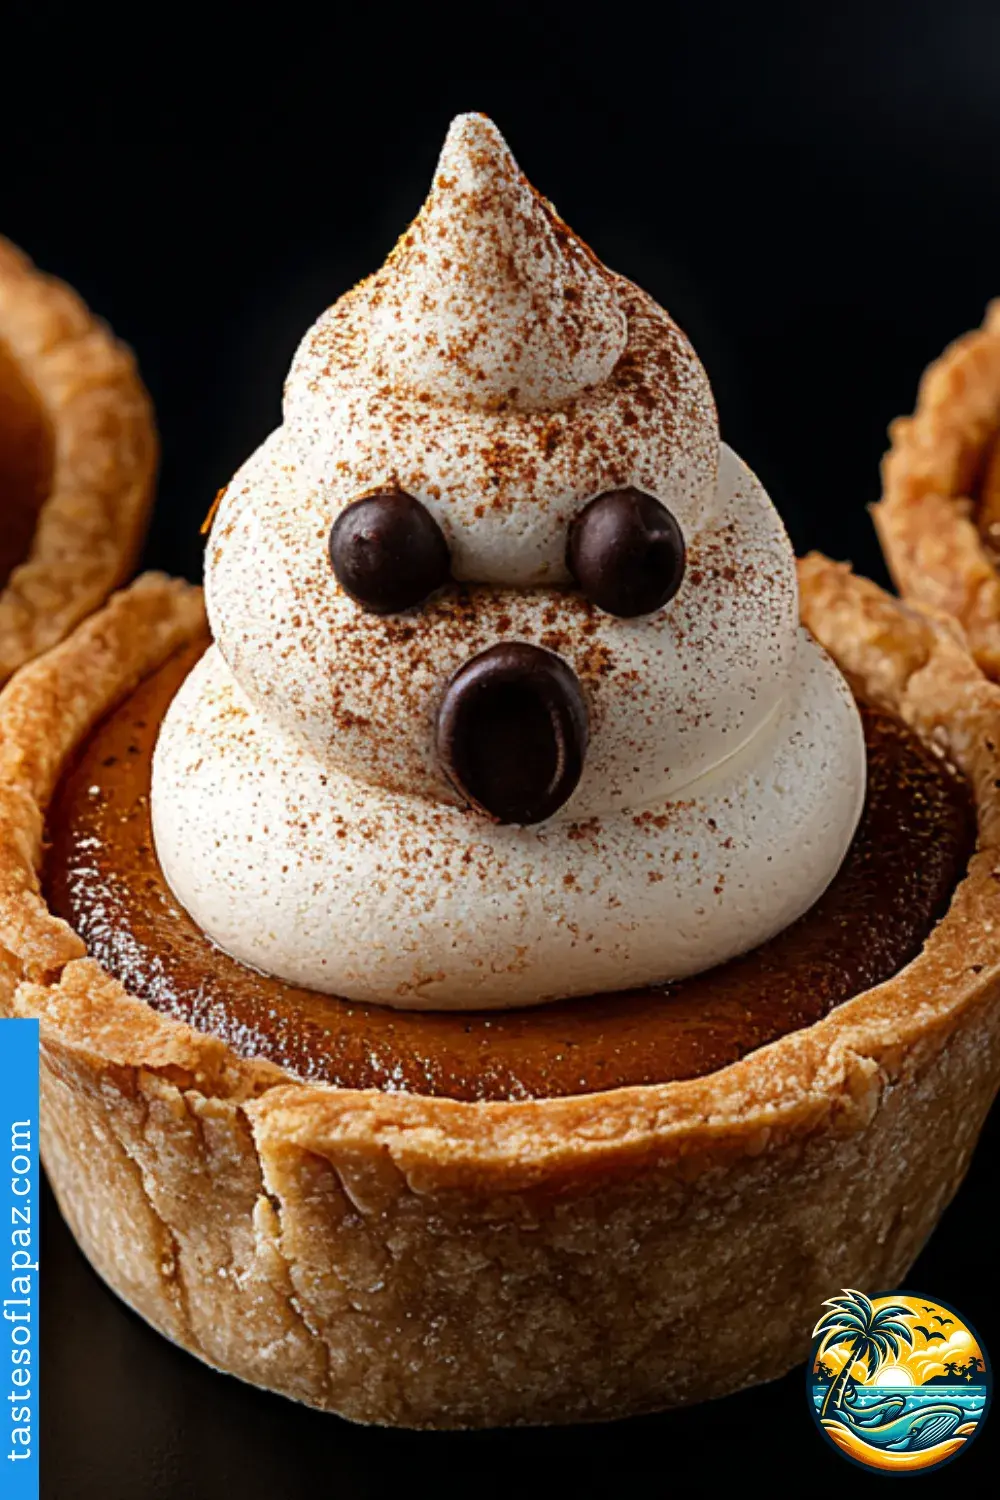
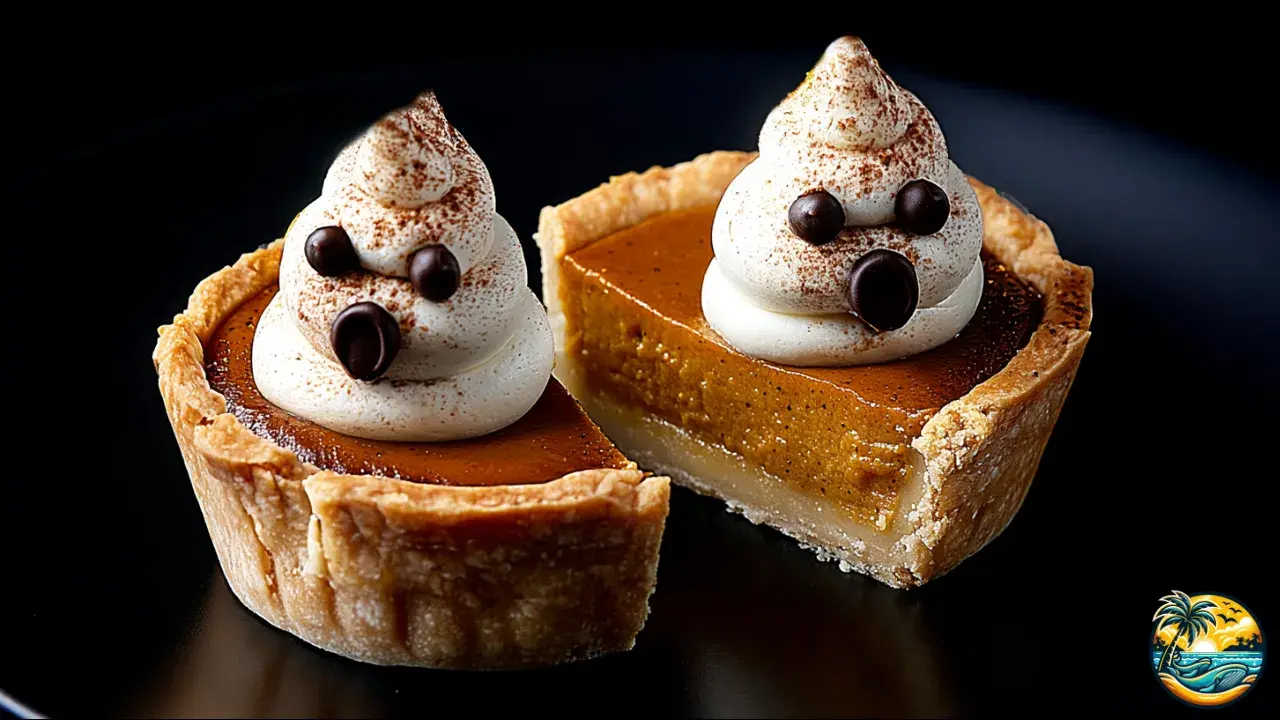
A fun, sweet little dessert that’s just perfect for Halloween—that’s exactly what these Spooky Mini Pumpkin Pies are all about. With their creamy pumpkin filling, fall-spiced aroma, and those extra-cute whipped cream ghosts that totally steal the show, they’re not only delicious and easy to make, but they’ll also make your table look magical, stunning, and totally picture-worthy—ready to share on social. So let’s make them!

Spooky Mini Pumpkin Pies
Servings:12 mini pies
Prep Time: 20 minutes
Cook Time: 25 minutes
Total Time: 45 minutes
Ingredients
- 1 package refrigerated pie crust (about 14 oz / 400 g)
- 1 cup (240 ml) pumpkin purée
- 1/3 cup (65 g) brown sugar
- 2 tablespoons (25 g) granulated sugar
- 1 large egg
- 1/2 cup (120 ml) evaporated milk
- 1/2 teaspoon (2 g) ground cinnamon
- 1/4 teaspoon (1 g) ground ginger
- 1/8 teaspoon (0.5 g) ground nutmeg
- Pinch of salt
- 1 cup (240 ml) heavy whipping cream, chilled
- 2 tablespoons (25 g) powdered sugar
- 2 oz (60 g) melted chocolate for decorating
Needed Equipment
- Muffin tin
- Round cookie cutter
- Rolling pin
- Mixing bowls
- Electric mixer
- Piping bag with a round tip
- Small bag or squeeze bottle for the chocolate
See 5 variations of the recipe at the end.
You might also be interested in:
Did You Know?
Pumpkin pie came to the U.S. with the early settlers, but the first versions were actually baked inside the pumpkin itself. Your little whipped cream “ghosts” are a modern, playful twist—basically turning each bite into a tiny edible costume.

Instructions
- Let’s get started! Preheat your oven to 350°F (175°C). While it heats, lightly grease a muffin tin with butter or nonstick spray. Don’t skip this step—it keeps the mini pies from sticking and makes cleanup way easier later.
- Roll out the pie crust on a lightly floured surface so it doesn’t stick. Use a 3-inch (7.5 cm) round cookie cutter to cut circles, then gently press them into each muffin cup, making sure the edges hug the sides so you don’t end up with bubbles.
- In a large bowl, combine the pumpkin purée, brown sugar, granulated sugar, egg, evaporated milk, cinnamon, ginger, nutmeg, and pinch of salt. Mix until smooth and creamy—no lumps allowed. You’ll know it’s ready when the mixture looks thick and velvety.
- With a spoon, fill each crust with 2 to 3 tablespoons of the pumpkin mixture. Quick tip: don’t overfill or the batter will spill out while baking. Leave a little space at the top of each crust.
- Time to bake! Place the tin in the preheated oven and bake for 20–25 minutes, or until the filling feels firm in the center and the crust is lightly golden. Carefully remove from the oven (use oven mitts!) and let them cool completely in the pan before moving to a wire rack for decorating.
- While your mini pies cool, make the whipped cream. Place the chilled cream and powdered sugar in a bowl, then beat with an electric mixer on medium-high until stiff peaks form. You’ll know it’s done when it holds its shape and looks thick and fluffy.
- Transfer the whipped cream to a piping bag with a round tip (or just use a zip-top bag with the corner snipped off). Pipe a swirl onto each mini pie, starting wide at the base and pulling up into a point to make it look like a little ghost.
- Now for the fun part: the ghost faces! Melt the chocolate using a double boiler or short bursts in the microwave, stirring often. Use a toothpick, a small bag with a tiny hole, or a fine piping tip to draw eyes and a mouth on each whipped cream ghost. Let the chocolate set for a few minutes.
- All done! Serve your Spooky Mini Pumpkin Pies and enjoy them right away. They’re perfect for Halloween, guaranteed to wow your guests, and honestly—they’re too cute not to snap a few pics before that first bite!

Ingredient Substitutions
- Pumpkin purée: If you don’t have it, you can also use sweet potato purée or butternut squash purée in the same amount.
- Evaporated milk: You can swap this out for Mexican “media crema” or even heavy cream thinned out with a bit of milk to reach the same volume.
- Brown sugar: You can use granulated sugar plus 1 teaspoon (5 ml) of molasses for every 1/3 cup (65 g).
- Spice mix: If you don’t have pumpkin spice on hand, just combine cinnamon with a pinch of ginger, nutmeg, and clove.
- Pie crust: You can replace this with sugar cookie dough, or make your own base “cheesecake style” using crushed cookies mixed with butter.
- Whipping cream: Want it dairy-free? Use chilled coconut cream instead.
- Melted chocolate: You can swap this for mini chocolate chips to make the eyes and mouth.
Prep Tips
- Chill the dough: Always chill it before cutting and lining the muffin tin; that way the edges stay crisp and defined.
- Poke the base: Don’t skip poking holes with a fork or the crust will puff up.
- Don’t overmix: If you do, the filling can crack. Mix only until everything comes together.
- Cool before decorating: If you pipe ghosts on warm pies, they’ll melt right away. Let them cool completely first.
- Cold cream is key: Pipe it with a large round tip to get that single “ghost peak.”
- Temper your chocolate: Do this and the eyes and mouths will set shiny and firm.
- Golden crust: If you want golden edges, just brush the dough with a little beaten egg before baking.
- Middle rack: Always bake on the middle rack for even cooking.
Common Mistakes You Should Avoid
- Don’t overfill: If you do, the filling expands and can spill over.
- Don’t lower the oven temp: The center will stay soggy and sink.
- Don’t use warm pies: This is important—if you add the whipped cream while they’re still warm, it’ll melt.
- Don’t skip cooling: The filling needs time to set before decorating or cutting.
- Don’t use watery purée: Drain it first or you’ll end up with soggy crusts—trust me, you don’t want that.
- Don’t use chocolate that’s too hot: Let it cool to lukewarm or it’ll melt the cream.
- Don’t roll the dough too thin: If it’s too thin, it’ll tear and lose its texture.
Frequently Asked Questions
- Can I make them ahead? Absolutely. Bake and cool the mini pies, then refrigerate for up to 2 days. Add the ghost topping the day you’re serving.
- Can they be frozen? Yes, but without the cream. Freeze for up to 2 months, wrapped well. Thaw in the fridge before decorating.
- How do I get firm ghosts? Use very cold cream and whip to stiff peaks. You can also stabilize with 1 extra tablespoon (8 g) powdered sugar or 1 teaspoon (3 g) softened, melted gelatin.
- Can I use cookie dough instead? Totally. Pre-bake 6–8 minutes, then fill and finish baking.
- What size cutter do I need? Use a 3-inch (7.5 cm) cutter for a standard muffin tin, or 2.5 inches (6.3 cm) if you’re using a mini muffin tin.
- Why is my filling cracking? It’s usually from overmixing or overbaking. Pull them out when the center is just barely firm.
- Can I swap whole milk for evaporated? Yes, but add 1 tablespoon (14 g) melted butter to keep it creamy.
- No piping bag? Use a toothpick dipped in chocolate for details, or a zip-top bag with the corner snipped off.
- Can I sweeten with honey or maple? Yep—replace half the sugar with honey or maple syrup, but cut 1 teaspoon (5 ml) of liquid elsewhere in the recipe.
- How long do they last once decorated? Best within 24 hours. Store in the fridge and add the chocolate eyes right before serving so they stay sharp.
Storing & Reheating
- Refrigeration: Keep undecorated mini pies in an airtight container up to 3 days. Once decorated, best within 24 hours.
- Reheating: Warm the crust and filling in a 300°F (150°C) oven for 5–7 minutes, then add cream and faces afterward.
- Freezing: Freeze without cream for up to 2 months. Wrap individually and place in a freezer bag.
- Thawing: Thaw overnight in the fridge, then bring to room temp for 15–20 minutes before decorating.

Serving Suggestions
- Pair with a pumpkin spice latte or a cold brew with cinnamon.
- Snack alongside some toasted nuts with rosemary and sea salt.
- Add a sweet extra: warm salted caramel sauce for dipping.
- Serve with baked apple slices dusted with cinnamon.
- Top it all off with a scoop of vanilla or cinnamon ice cream—so good!
Recipe Variations
- Choco-Pumpkin: Add 2 tablespoons (10 g) cocoa powder to the filling and top with chocolate chips—extra indulgent.
- Maple Pecan: Swap part of the sugar for maple syrup and sprinkle chopped pecans on top before baking.
- Spiked Ghosts: For the grown-ups, flavor the whipped cream with 1 tablespoon (15 ml) coffee liqueur or bourbon.
- Gluten-Free: Use a gluten-free pie crust or a butter-and-gluten-free cookie crumb base.
- Mini Cheesecake Pumpkin: Layer a thin cheesecake mix under the pumpkin filling, then bake—super tasty twist!
Nutritional Info (per serving)
- Calories: 190 kcal
- Protein: 3 g
- Healthy Fats: 10 g
- Carbohydrates: 22 g
- Natural Sugars: 12 g
- Fiber: 1 g
- Sodium: 120 mg

Tastes of La Paz.
Spooky Mini Pumpkin Pies
Servings:12 mini pies
Prep Time: 20 minutes
Cook Time: 25 minutes
Total Time: 45 minutes
Ingredients
- 1 package refrigerated pie crust (about 14 oz / 400 g)
- 1 cup (240 ml) pumpkin purée
- 1/3 cup (65 g) brown sugar
- 2 tablespoons (25 g) granulated sugar
- 1 large egg
- 1/2 cup (120 ml) evaporated milk
- 1/2 teaspoon (2 g) ground cinnamon
- 1/4 teaspoon (1 g) ground ginger
- 1/8 teaspoon (0.5 g) ground nutmeg
- Pinch of salt
- 1 cup (240 ml) heavy whipping cream, chilled
- 2 tablespoons (25 g) powdered sugar
- 2 oz (60 g) melted chocolate for decorating
Needed Equipment
- Muffin tin
- Round cookie cutter
- Rolling pin
- Mixing bowls
- Electric mixer
- Piping bag with a round tip
- Small bag or squeeze bottle for the chocolate
Instructions
- Let’s get started! Preheat your oven to 350°F (175°C). While it heats, lightly grease a muffin tin with butter or nonstick spray. Don’t skip this step—it keeps the mini pies from sticking and makes cleanup way easier later.
- Roll out the pie crust on a lightly floured surface so it doesn’t stick. Use a 3-inch (7.5 cm) round cookie cutter to cut circles, then gently press them into each muffin cup, making sure the edges hug the sides so you don’t end up with bubbles.
- In a large bowl, combine the pumpkin purée, brown sugar, granulated sugar, egg, evaporated milk, cinnamon, ginger, nutmeg, and pinch of salt. Mix until smooth and creamy—no lumps allowed. You’ll know it’s ready when the mixture looks thick and velvety.
- With a spoon, fill each crust with 2 to 3 tablespoons of the pumpkin mixture. Quick tip: don’t overfill or the batter will spill out while baking. Leave a little space at the top of each crust.
- Time to bake! Place the tin in the preheated oven and bake for 20–25 minutes, or until the filling feels firm in the center and the crust is lightly golden. Carefully remove from the oven (use oven mitts!) and let them cool completely in the pan before moving to a wire rack for decorating.
- While your mini pies cool, make the whipped cream. Place the chilled cream and powdered sugar in a bowl, then beat with an electric mixer on medium-high until stiff peaks form. You’ll know it’s done when it holds its shape and looks thick and fluffy.
- Transfer the whipped cream to a piping bag with a round tip (or just use a zip-top bag with the corner snipped off). Pipe a swirl onto each mini pie, starting wide at the base and pulling up into a point to make it look like a little ghost.
- Now for the fun part: the ghost faces! Melt the chocolate using a double boiler or short bursts in the microwave, stirring often. Use a toothpick, a small bag with a tiny hole, or a fine piping tip to draw eyes and a mouth on each whipped cream ghost. Let the chocolate set for a few minutes.
- All done! Serve your Spooky Mini Pumpkin Pies and enjoy them right away. They’re perfect for Halloween, guaranteed to wow your guests, and honestly—they’re too cute not to snap a few pics before that first bite!
Nutritional Info (per serving)
- Calories: 190 kcal
- Protein: 3 g
- Healthy Fats: 10 g
- Carbohydrates: 22 g
- Natural Sugars: 12 g
- Fiber: 1 g
- Sodium: 120 mg

Tastes of La Paz.